Fire up your backyard dreams without burning a hole in your pocket. These 12 ideas prove you don’t need a resort budget to grill like a pro and dine in the great outdoors. FYI, simplicity can be stunning.
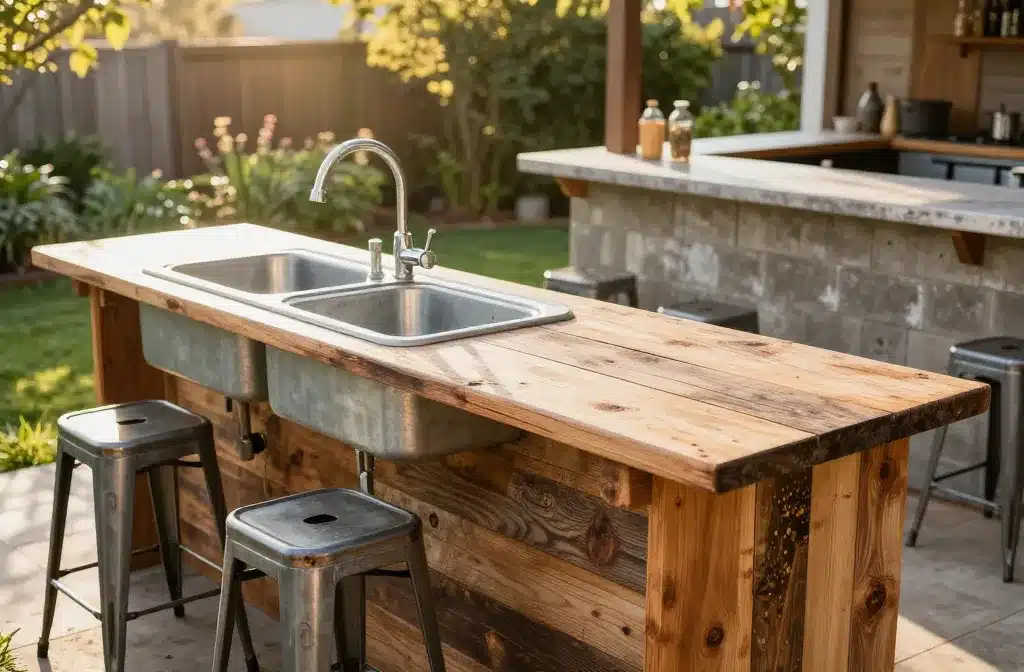
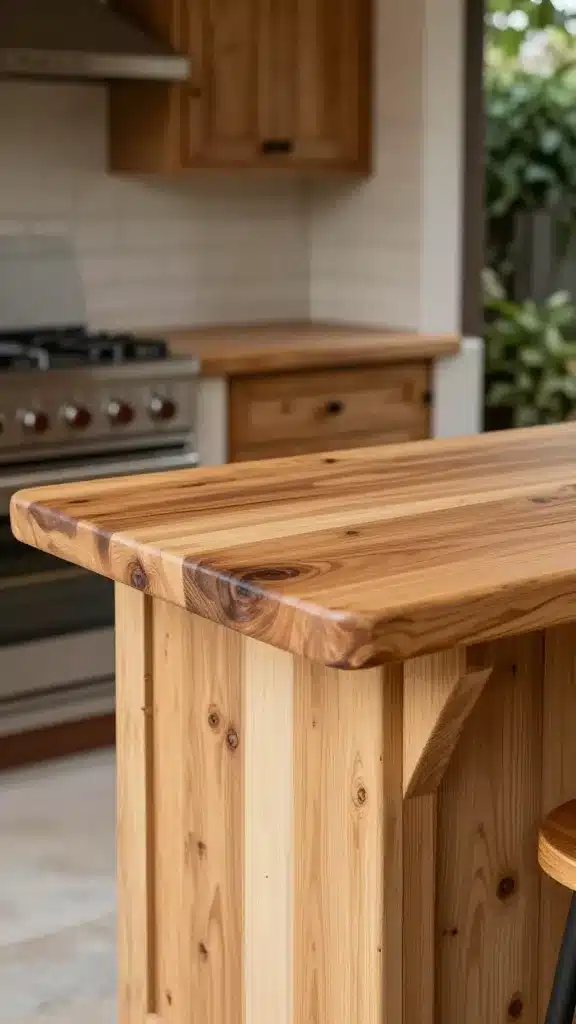
1. Salvaged Wood Counter Aesthetic
Reclaimed wood gives instant warmth and character to any outdoor kitchen. It’s affordable if you hunt for bargains and love a little DIY charm. Seriously, this look elevates your space without the designer price tag.
Why it rocks: it adds texture, age, and a focal point that feels lived-in.
Key Points
- Source recycled pallets or barn wood (check for weathered finish).
- Seal with a food-safe polyurethane to protect against the elements.
- Pair with metal stools for contrasts, not matchy-matchy.
Pro tip: use a galvanized steel sink or a simple plastic tub as a wash station to keep costs down. Your future self will thank you during summer barbecues.
2. Concrete Block Bar With a Twist
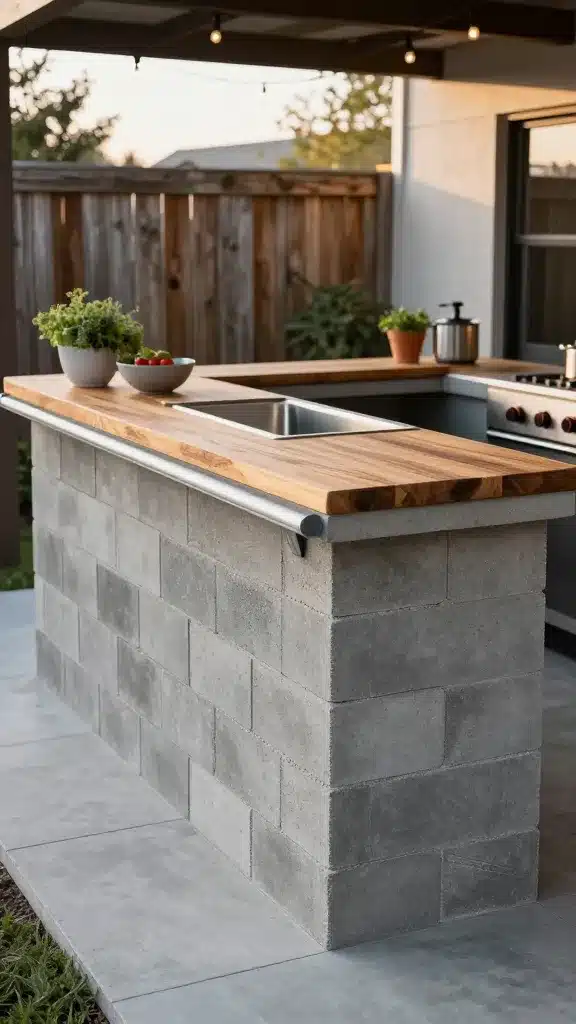
Concrete blocks are crypto-budget-friendly and surprisingly stylish when stacked with intention. They’re sturdy, weather-resistant, and DIY-friendly for weekend warriors. Trust me, you’ll impress with this industrial-meets-rustic vibe.
Why it rocks: modular, customizable, and long-lasting.
Tips
- Stack with a wood or concrete top to create a durable counter.
- Sand and seal blocks to soften lines slightly.
- Add a simple gutter for a spill-free edge.
Use-cases: outdoor prep station, serving area, or a casual tasting bar when guests arrive late.
3. Outdoor Brick or Stone Oven on a Budget
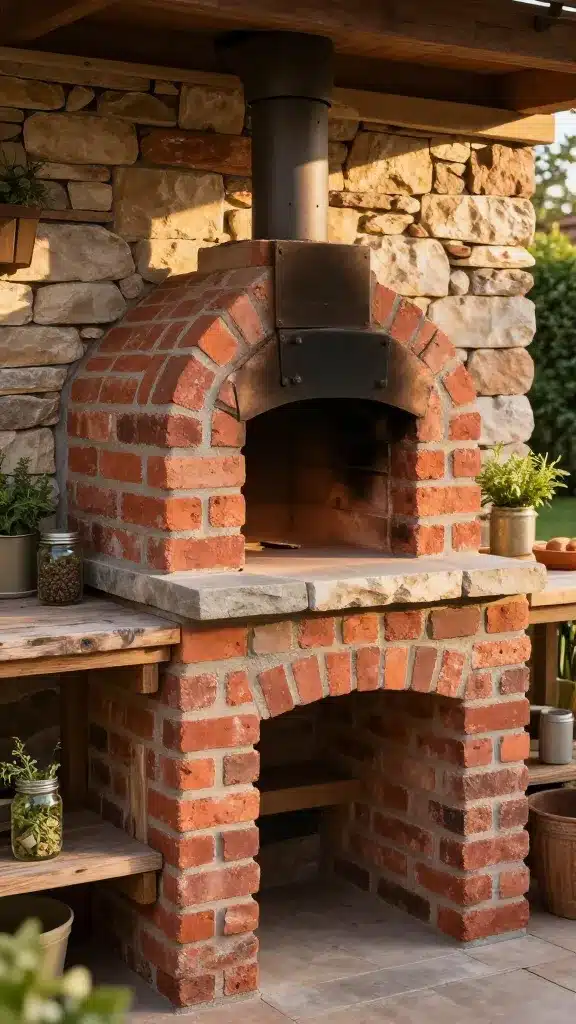
A rustic brick or stone oven feels premium without the premium price tag if you keep it simple. You don’t need a full chef’s kitchen; a modest, functional oven works wonders for pizzas and roasted veggies. FYI, DIY coating can save you a chunk of cash.
Why it rocks: vibes for days and meals that taste like chef-level goodness.
Helpful Elements
- Stacked brick or faux-stone panels for faster install.
- Compact oven chamber with a small chimney for smoke control.
- Simple door and stone shelf for tools and spices.
Tip: start with a small clay oven kit and expand later if you fall in love with the process.
4. DIY Ladder-Frame Pergola for Shade
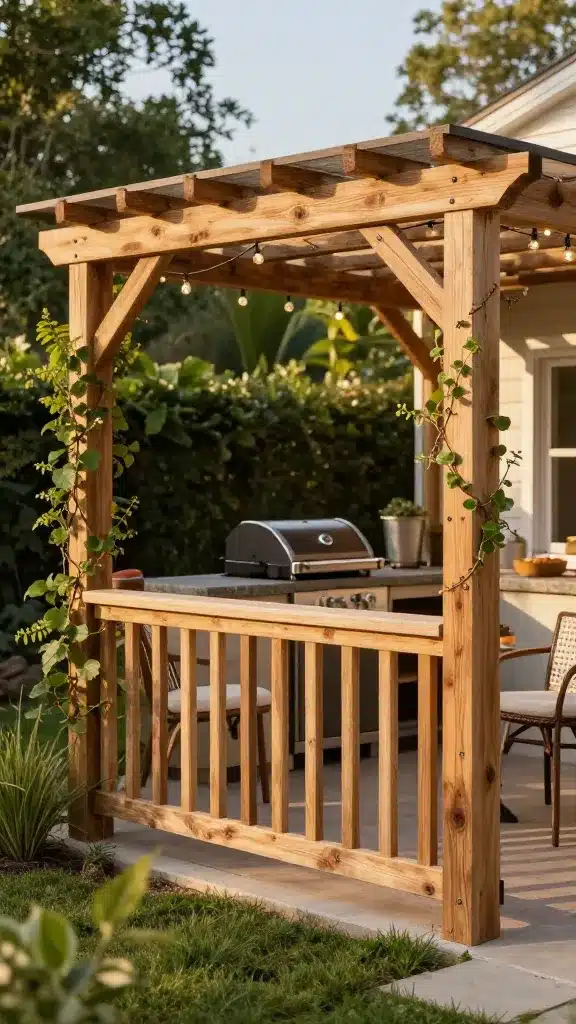
Shelter and style go hand-in-hand with a simple ladder-frame pergola. It’s a breeze to build on a budget and instantly upgrades your cooking area with a touch of romance. Yes, you can DIY this in a weekend.
Why it rocks: creates shade, anchors your seating, and frames your cooking zone.
Materials
- Rough-cut lumber, treated for outdoor use
- Weatherproof screws and brackets
- Climbing vines or string lights for ambiance
Tip: keep the footprint small to save on posts and crossbeams, but big enough to feel inviting during family dinners.
5. Salvage Metal Shelves and Tub Sinks
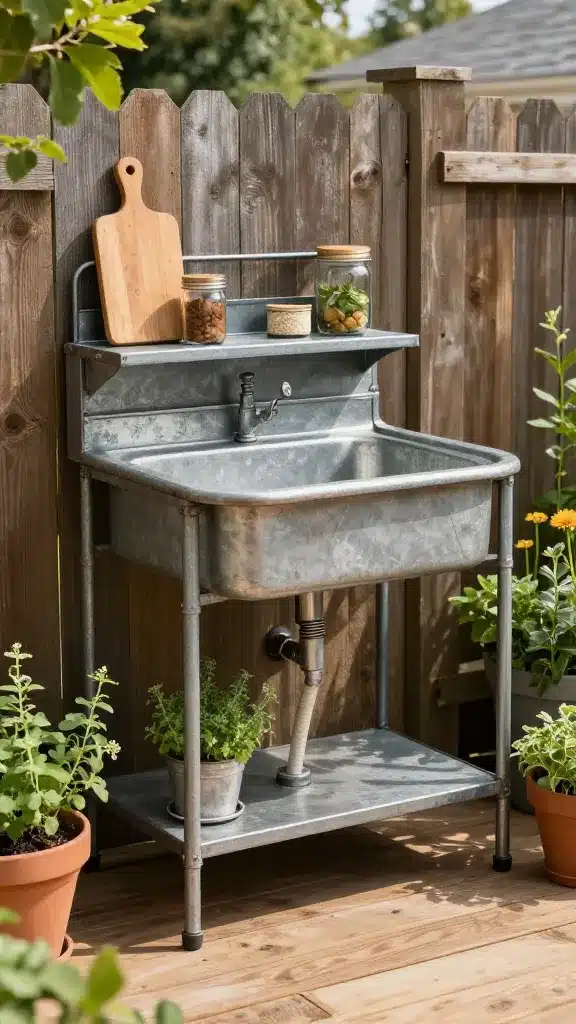
Turn thrift-store finds into practical storage and prep spaces. A salvaged metal shelf paired with a galvanized tub sink makes an instant outdoor prep zone that’s sturdy and wipe-clean. Seriously, it’s the kind of setup you brag about on a Sunday afternoon.
Why it rocks: affordable, durable, and easily customizable.
What to Do
- Mount shelves at an ergonomic height for quick access.
- Seal metal to prevent rust, or embrace the patina.
- Use the tub as a wash station with a simple drain hose.
Benefit: your tools have a home, and you cut down on cleanup time between courses.
6. Compost-Ready Prep Station With Upcycled Curb Find

Yes, you can prep and dispose responsibly in one compact zone. A compact prep station with a compost bin nearby makes outdoor cooking cleaner and greener. It’s a clever fix for limited space and big appetites.
Why it rocks: keeps the mess out of sight and makes clean-up feel like a breeze.
Setup Tips
- Install a narrow cabinet or cubby for knives and boards.
- Place a small compost pail within arm’s reach for veggie trimmings.
- Choose a water-resistant top for easy wipe-downs.
When to use: weekend gatherings where your menu uses lots of chopped ingredients and herbs.
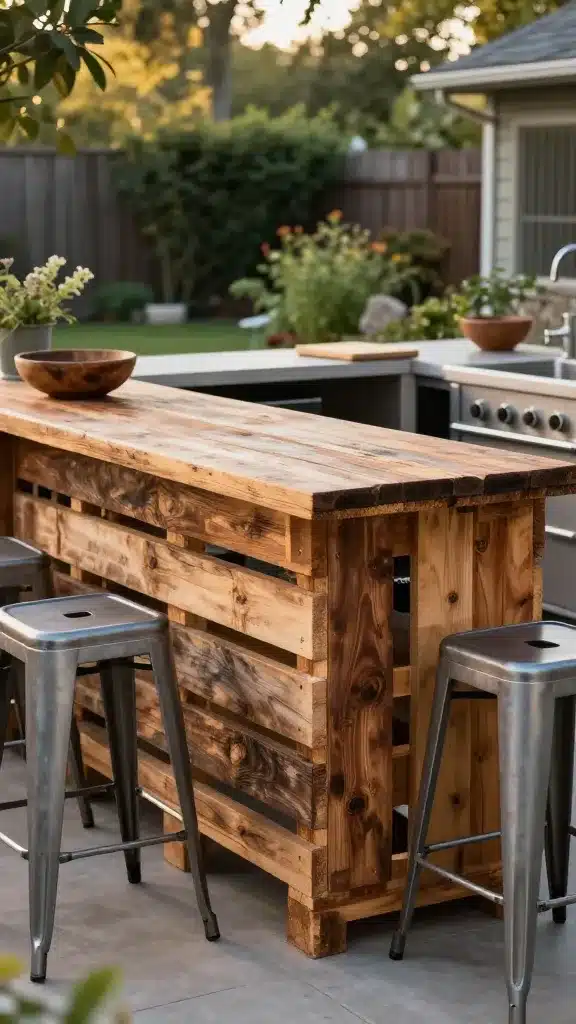
7. Reclaimed Timber Bar Top With Simple Frame
A timber bar top screams rustic without shouting “new build.” Use reclaimed boards set on a light frame to keep costs down and charm high. It’s the kind of feature people notice and remember.
Why it rocks: warm color tones, natural imperfections, and real wood fragrance—okay, maybe not fragrance, but you get the vibe.
Notes
- Sand and seal to lock in the grain.
- Use outdoor-rated finishes to resist weathering.
- Keep edges rounded for a friendly, approachable look.
A practical benefit: you have a legitimate serving area that doubles as a social hotspot during gatherings.
8. Simple Outdoor Stove Upgrade With Pallet Hack
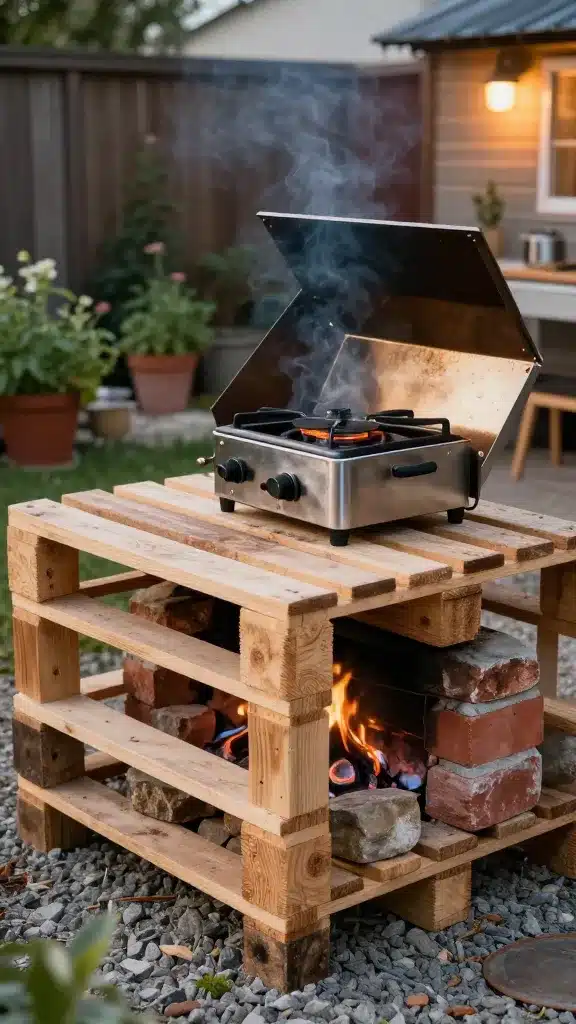
Palettes aren’t just for coffee tables; they can create a compact, high-function stove area. Stack, stabilize, seal, and you’ve got a lean but chic cooking nook that won’t break the bank. You’ll be surprised how capable it feels.
Why it rocks: low-cost, high-impact, and easy to customize to fit your space.
Implementation
- Disassemble pallets and use slats for a countertop
- Create a small fire-safe base with brick or stone
- Incorporate a simple ventilation lid for smoke control
Tip: add a fold-down leaf to expand prep space when you’re feeding a crowd.
9. Outdoor Lighting That Makes It Cozy
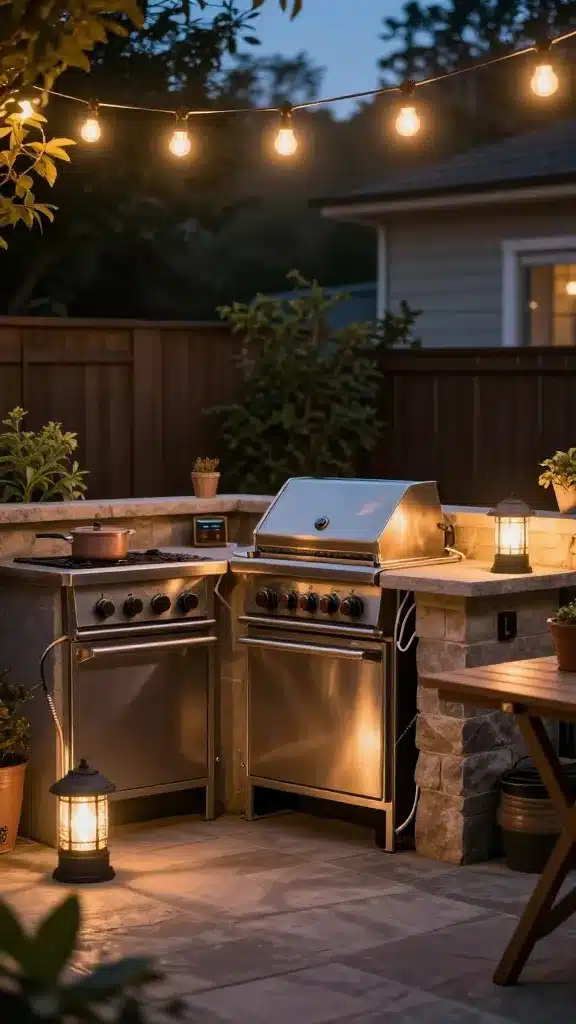
Lighting transforms any outdoor kitchen after dusk. String lights, solar lanterns, and warm bulbs create a welcoming ambience that makes your space feel large even if the footprint is small. Not flashy, just cozy.
Why it rocks: mood before the main course, and it helps with safety and navigation.
Key Elements
- Warm, yellow-toned bulbs
- Weatherproof fixtures and cords tucked away
- Dimmer options for changing vibes
When to use: late-summer cookouts or weekend late dinners with friends.
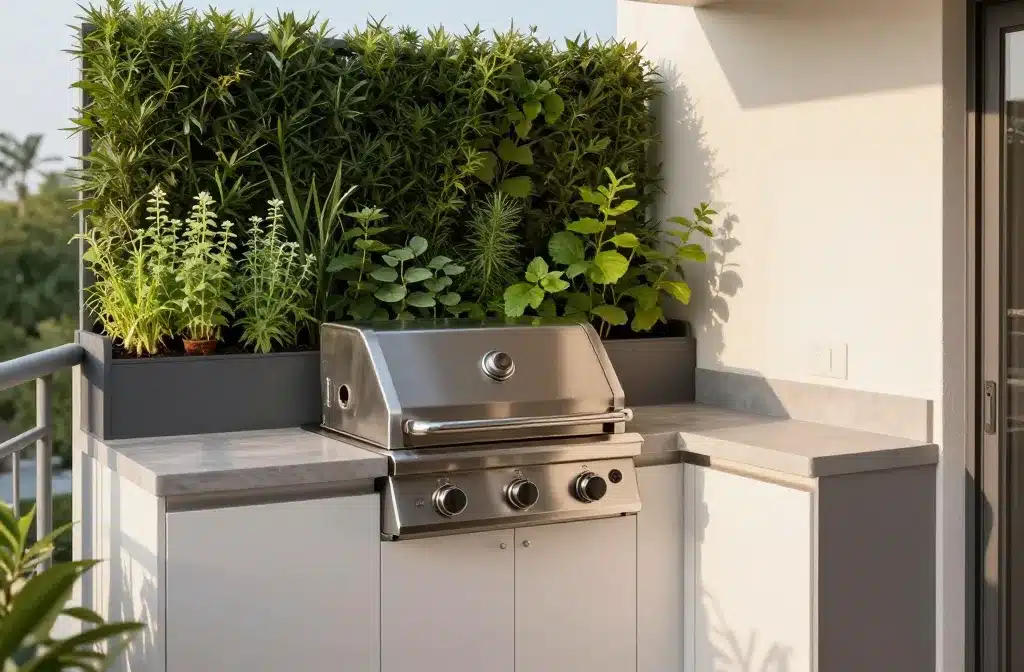
10. Concrete Planters as a Built-in Shelf
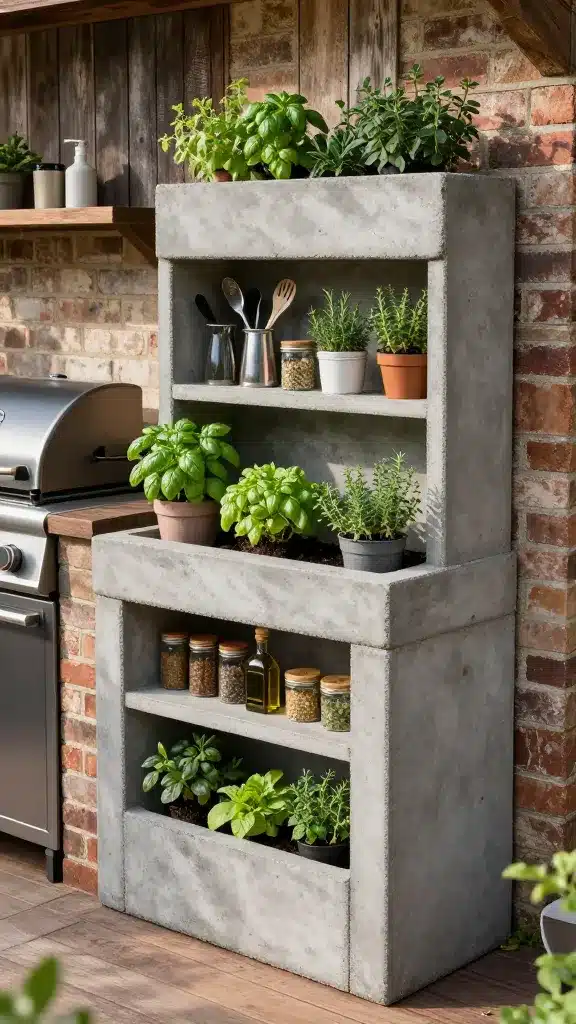
Planters don’t have to be purely decorative. If you cast a few concrete or cinder-block planters with built-in shelves, you create extra storage and a green accent that makes your kitchen feel vital and alive. The plants are the edible garnish for your space.
Why it rocks: practical storage plus a pop of color and life.
What to Do
- Add herbs within easy reach for cooking
- Line with plastic to reduce moisture damage
- Use as a display for keeping utensils and spices handy
Benefit: you gain fresh ingredients and a stronger, more inviting atmosphere.
11. Portable Grill Island on a Shoestring
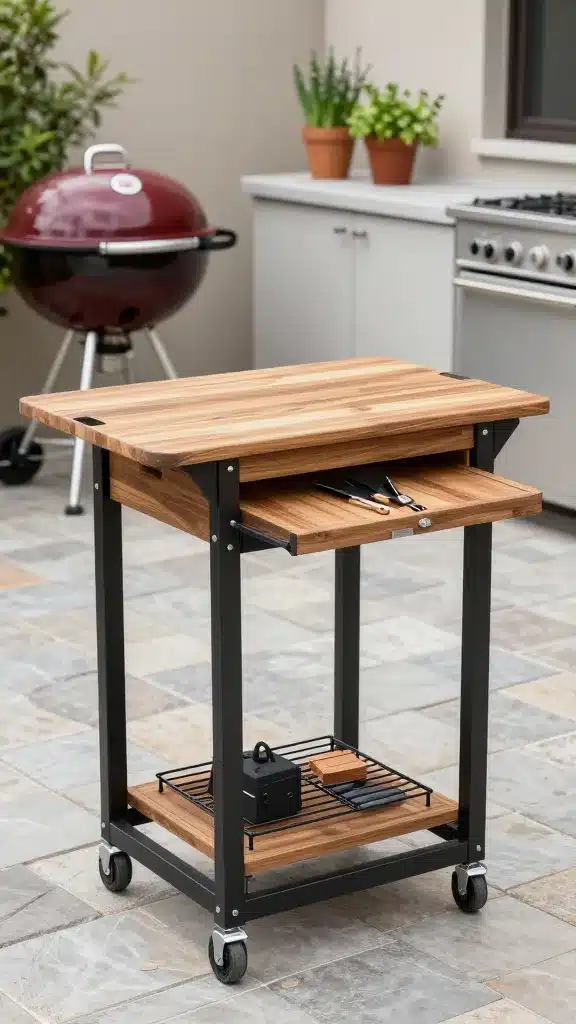
A compact island on wheels can be a game-changer for flexible layouts. You get a prep surface, storage, and a place to park your grill that moves with your entertaining vibe. It’s budget-friendly and totally adaptable.
Why it rocks: mobility, adaptability, and easy customization as you refine your setup.
Tips
- Choose a weatherproof top that cleans easily
- Install a small rack for charcoal and wood chips
- Lockable wheels for stability when cooking
Best use: daily grilling sessions that shift between patio, garden, and deck.
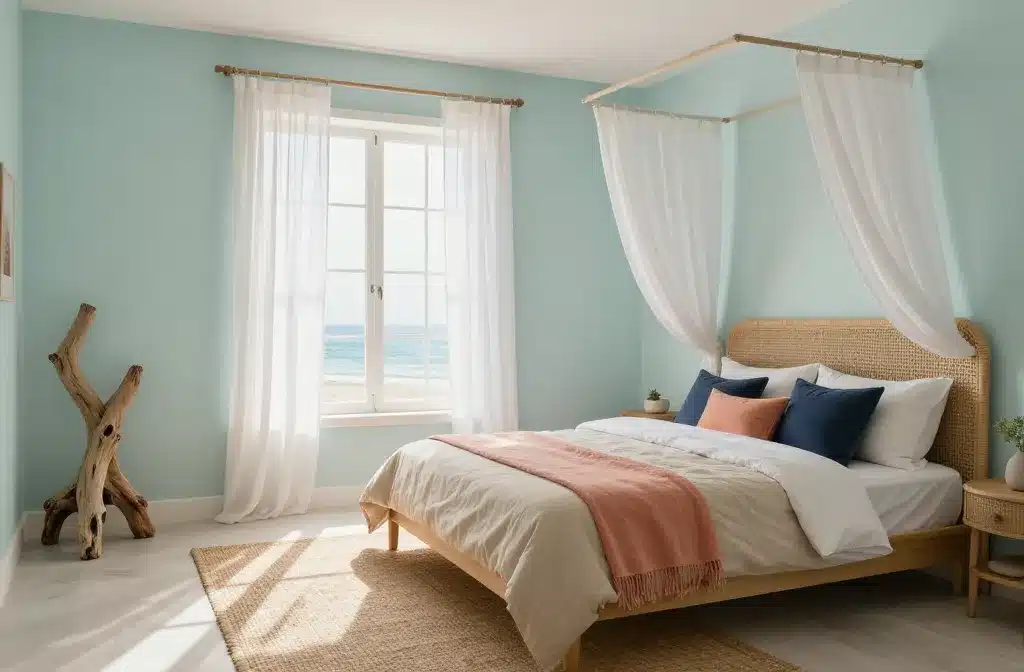
12. Weatherproof Curtains and Storage Nook
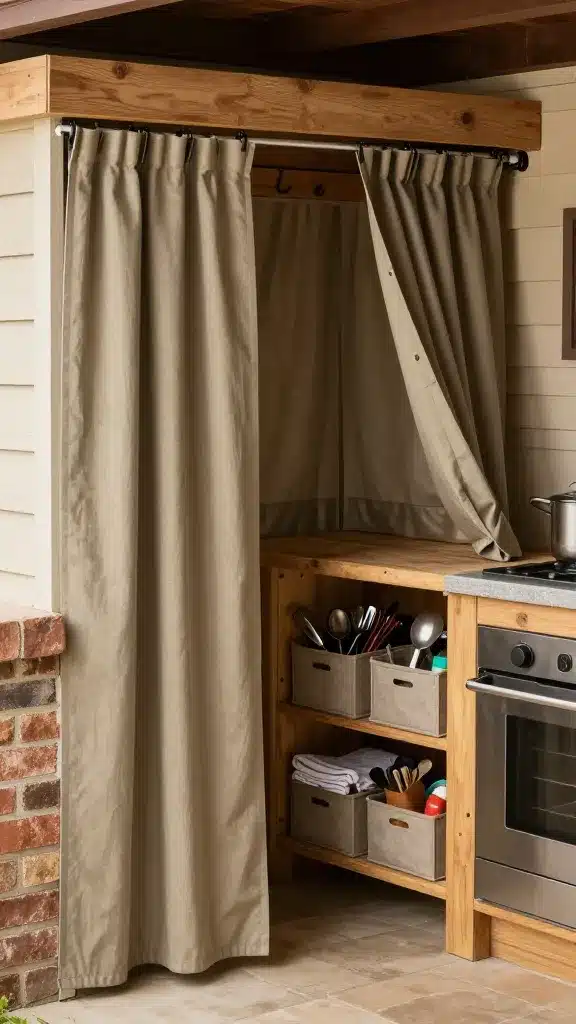
Okay, this one is about finishing touches that make your space feel finished. Weatherproof curtains or rolling screens create shade and privacy when you want it, while a compact storage nook keeps tools away from the elements. It’s the napkin ring that pulls the whole meal together.
Why it rocks: privacy, weather protection, and a neat, clean look that lasts season after season.
Practicalities
- Search for outdoor-rated fabrics or synthetic blends
- Mount hooks or a simple track for easy opening
- Store covers, brushes, and seasonings in labeled bins
When to use: evenings with a breeze or when you want a more intimate dining vibe outdoors.
Ready to turn your yard into a rustic kitchen that actually fits your budget? Start with one or two ideas, then layer in others as you go.
You’ll get a space that’s incredibly you—functional, friendly, and totally Instagram-worthy (if you’re into that). FYI, the best part is the confidence you’ll gain from DIYing something meaningful.
Now go grab a coffee, sketch your plan, and start building. You’ve got this, and your backyard will thank you with delicious meals and countless memories.

Jessica Miller is the creator of Happy Home Atlas, where she shares simple ideas for home decor, easy recipes, and everyday living. She enjoys creating comfortable spaces, trying new things in the kitchen, and finding practical ways to make daily life feel more organized and enjoyable. Her approach is focused on keeping things simple, useful, and easy to follow.